Serv00 provides three ports and allows software installation. It’s usable for light testing, though the latency is quite noticeable.

1. Configure DevilWEB
Log in to DevilWEB using the account credentials provided in the email from Serv00.
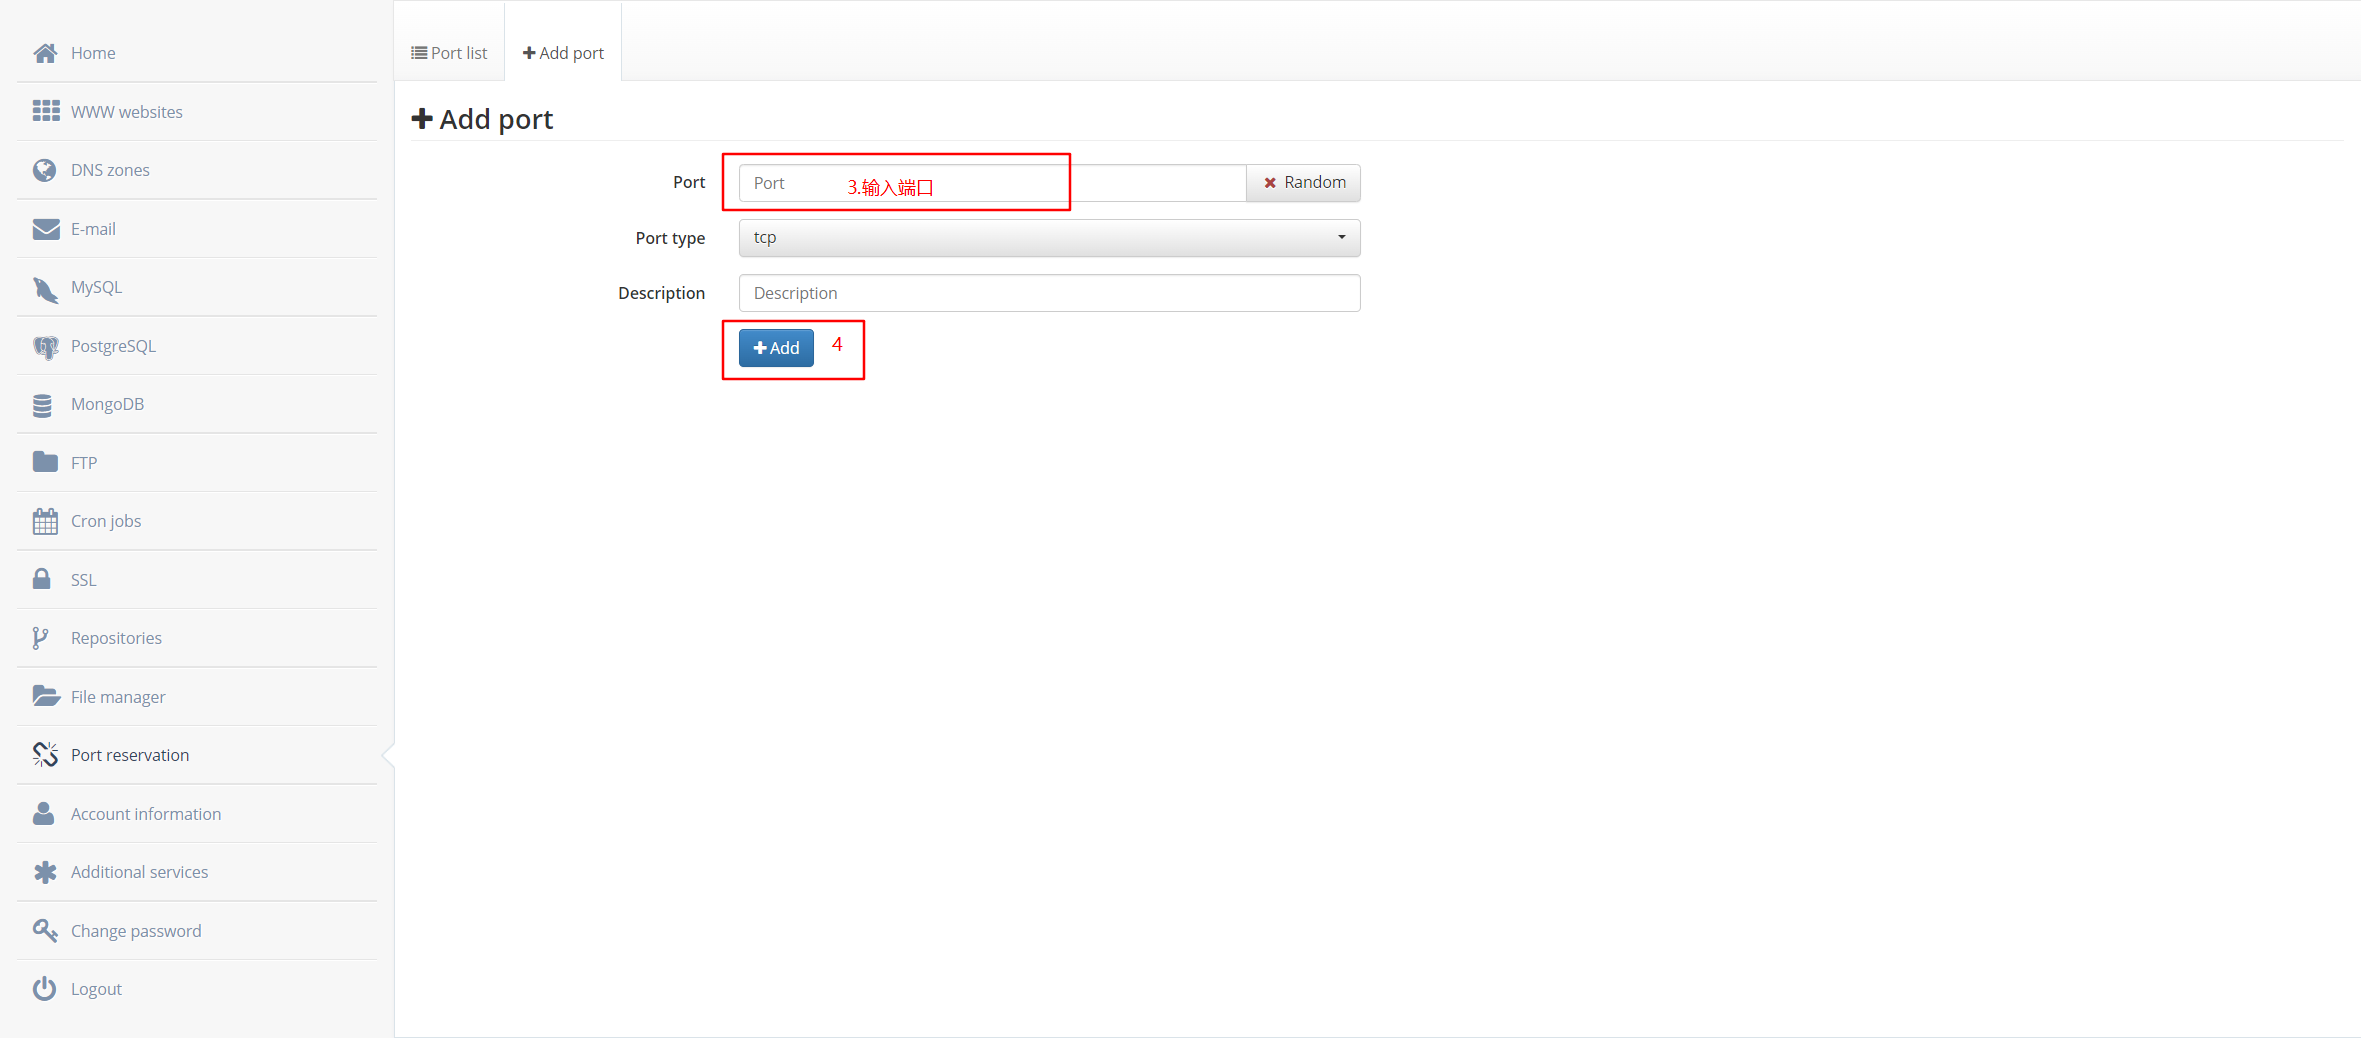
1. Set Up Ports
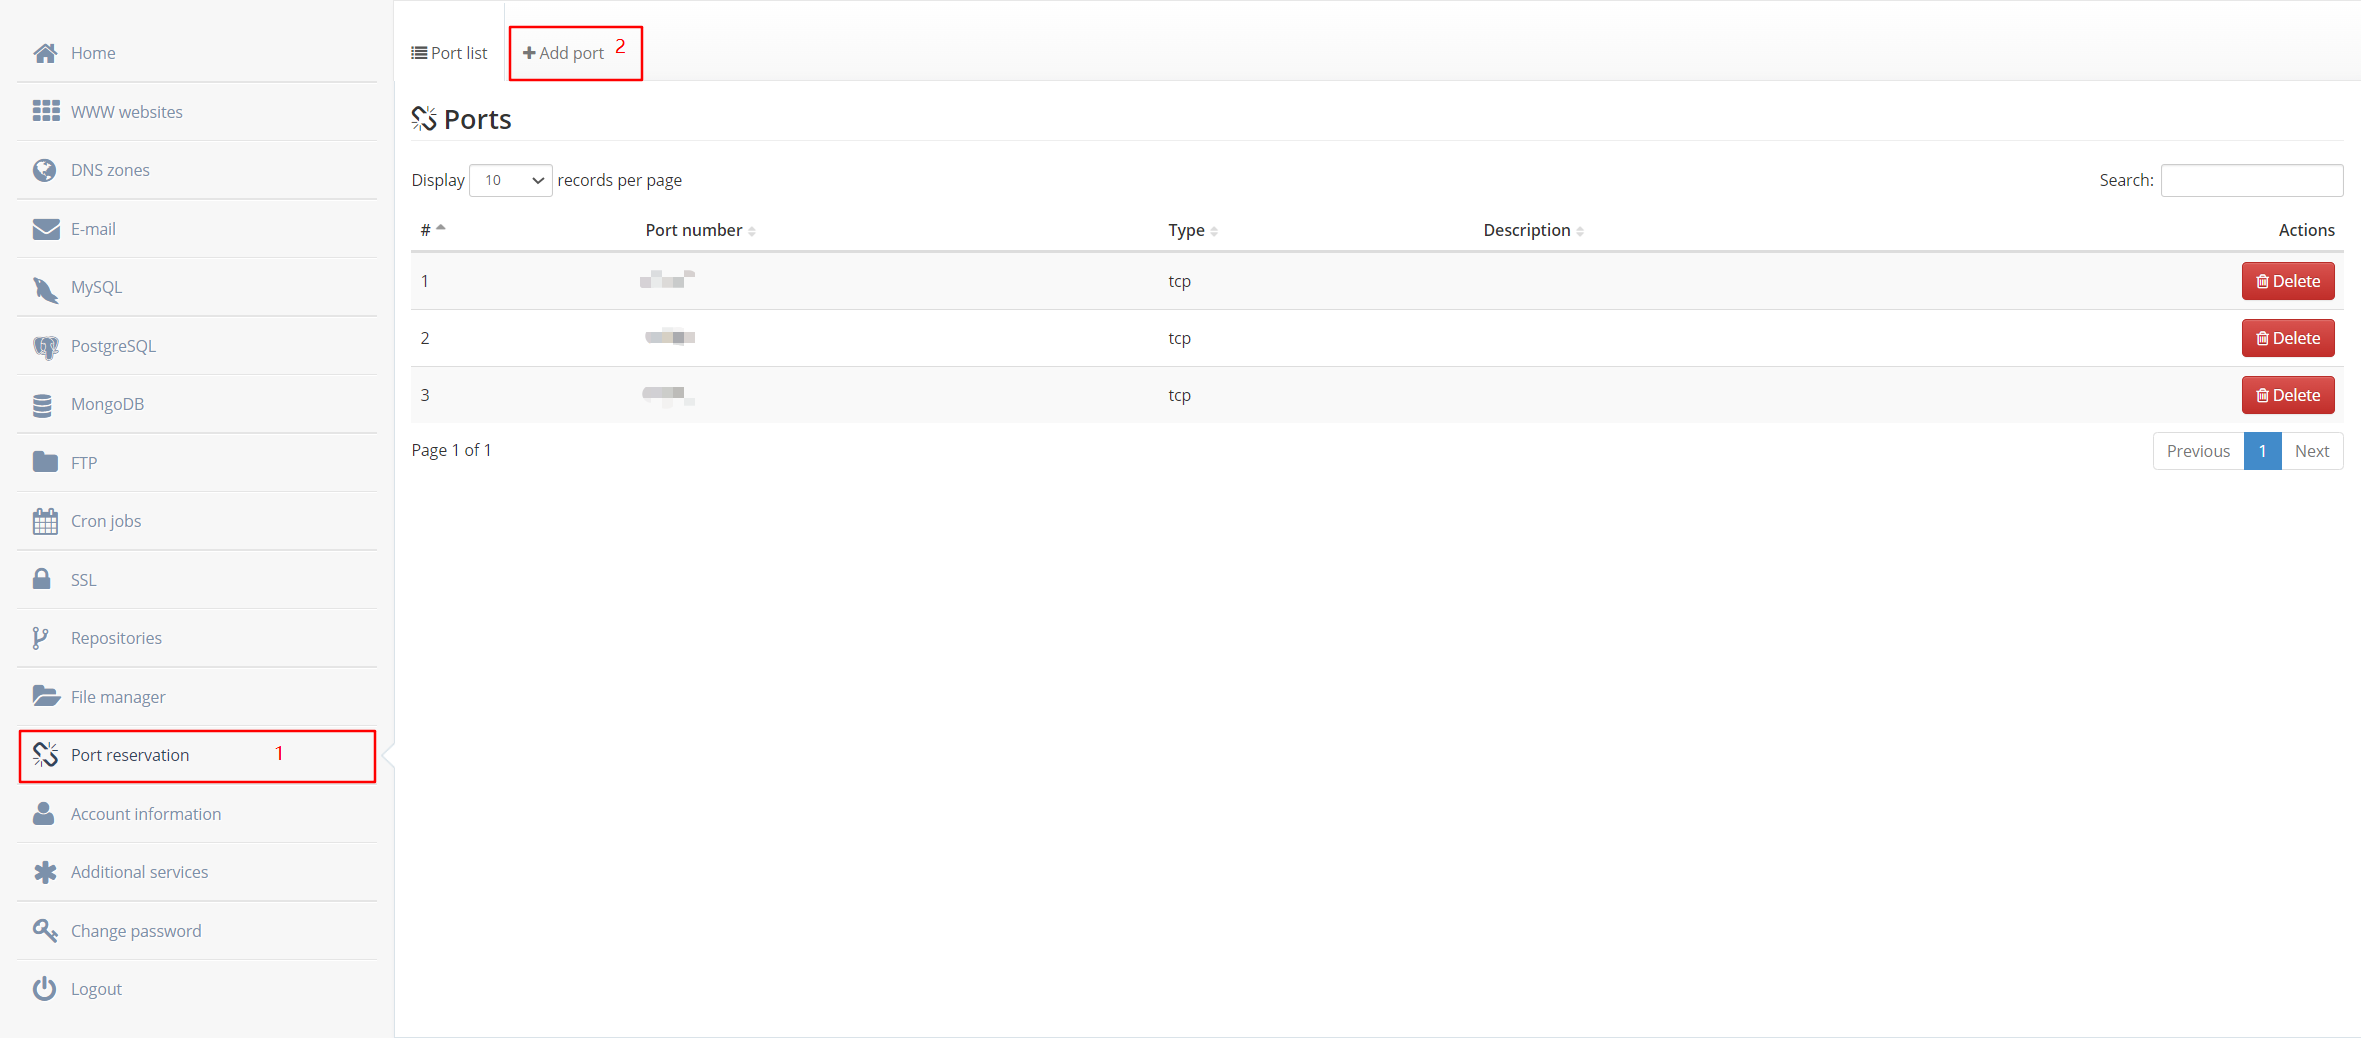
Click "Add Port" — you can add up to 3 ports.
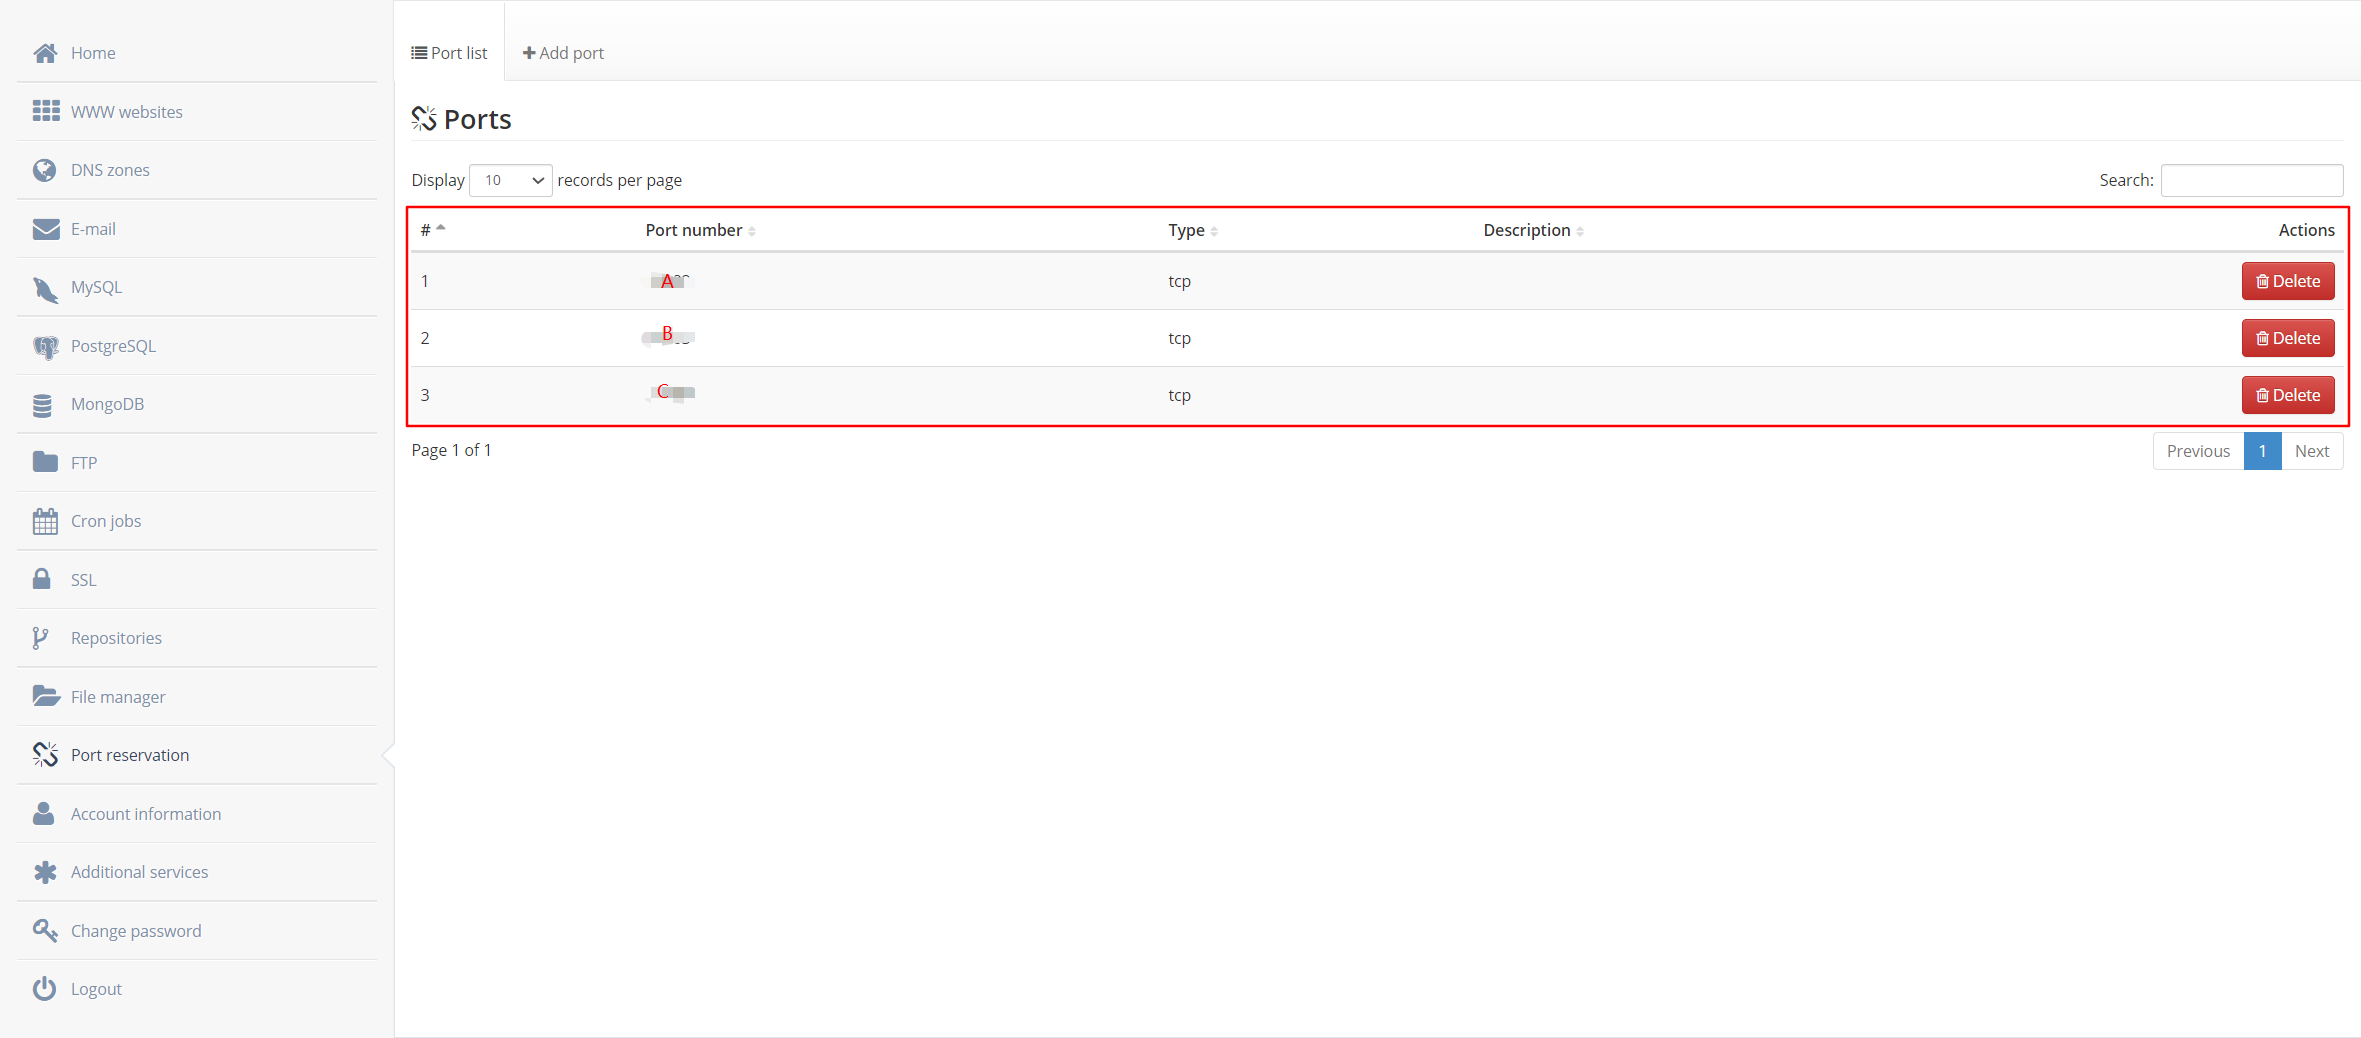
After adding, it should look like this:
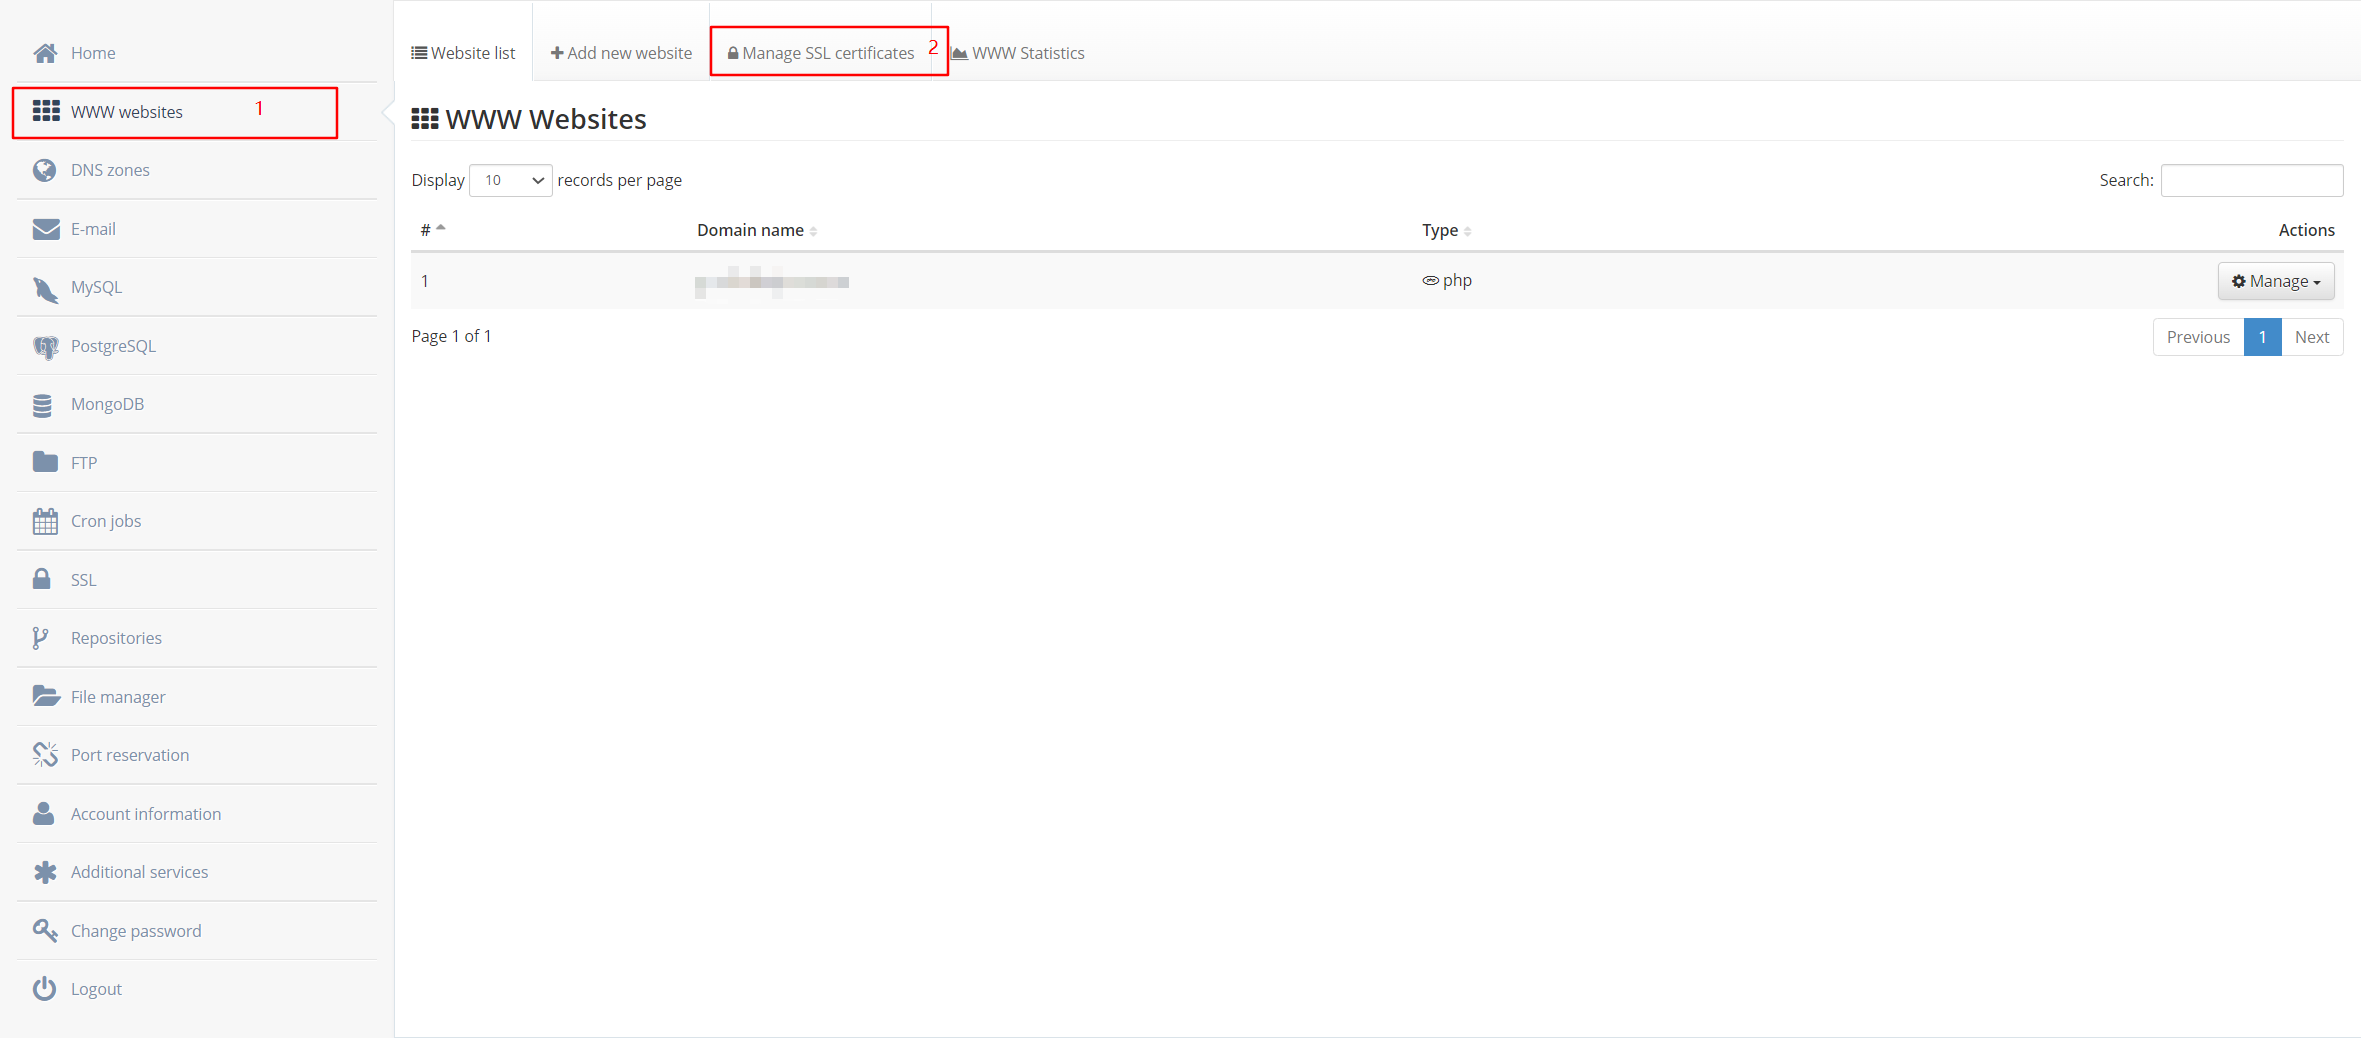
2. Check Assigned IP Address
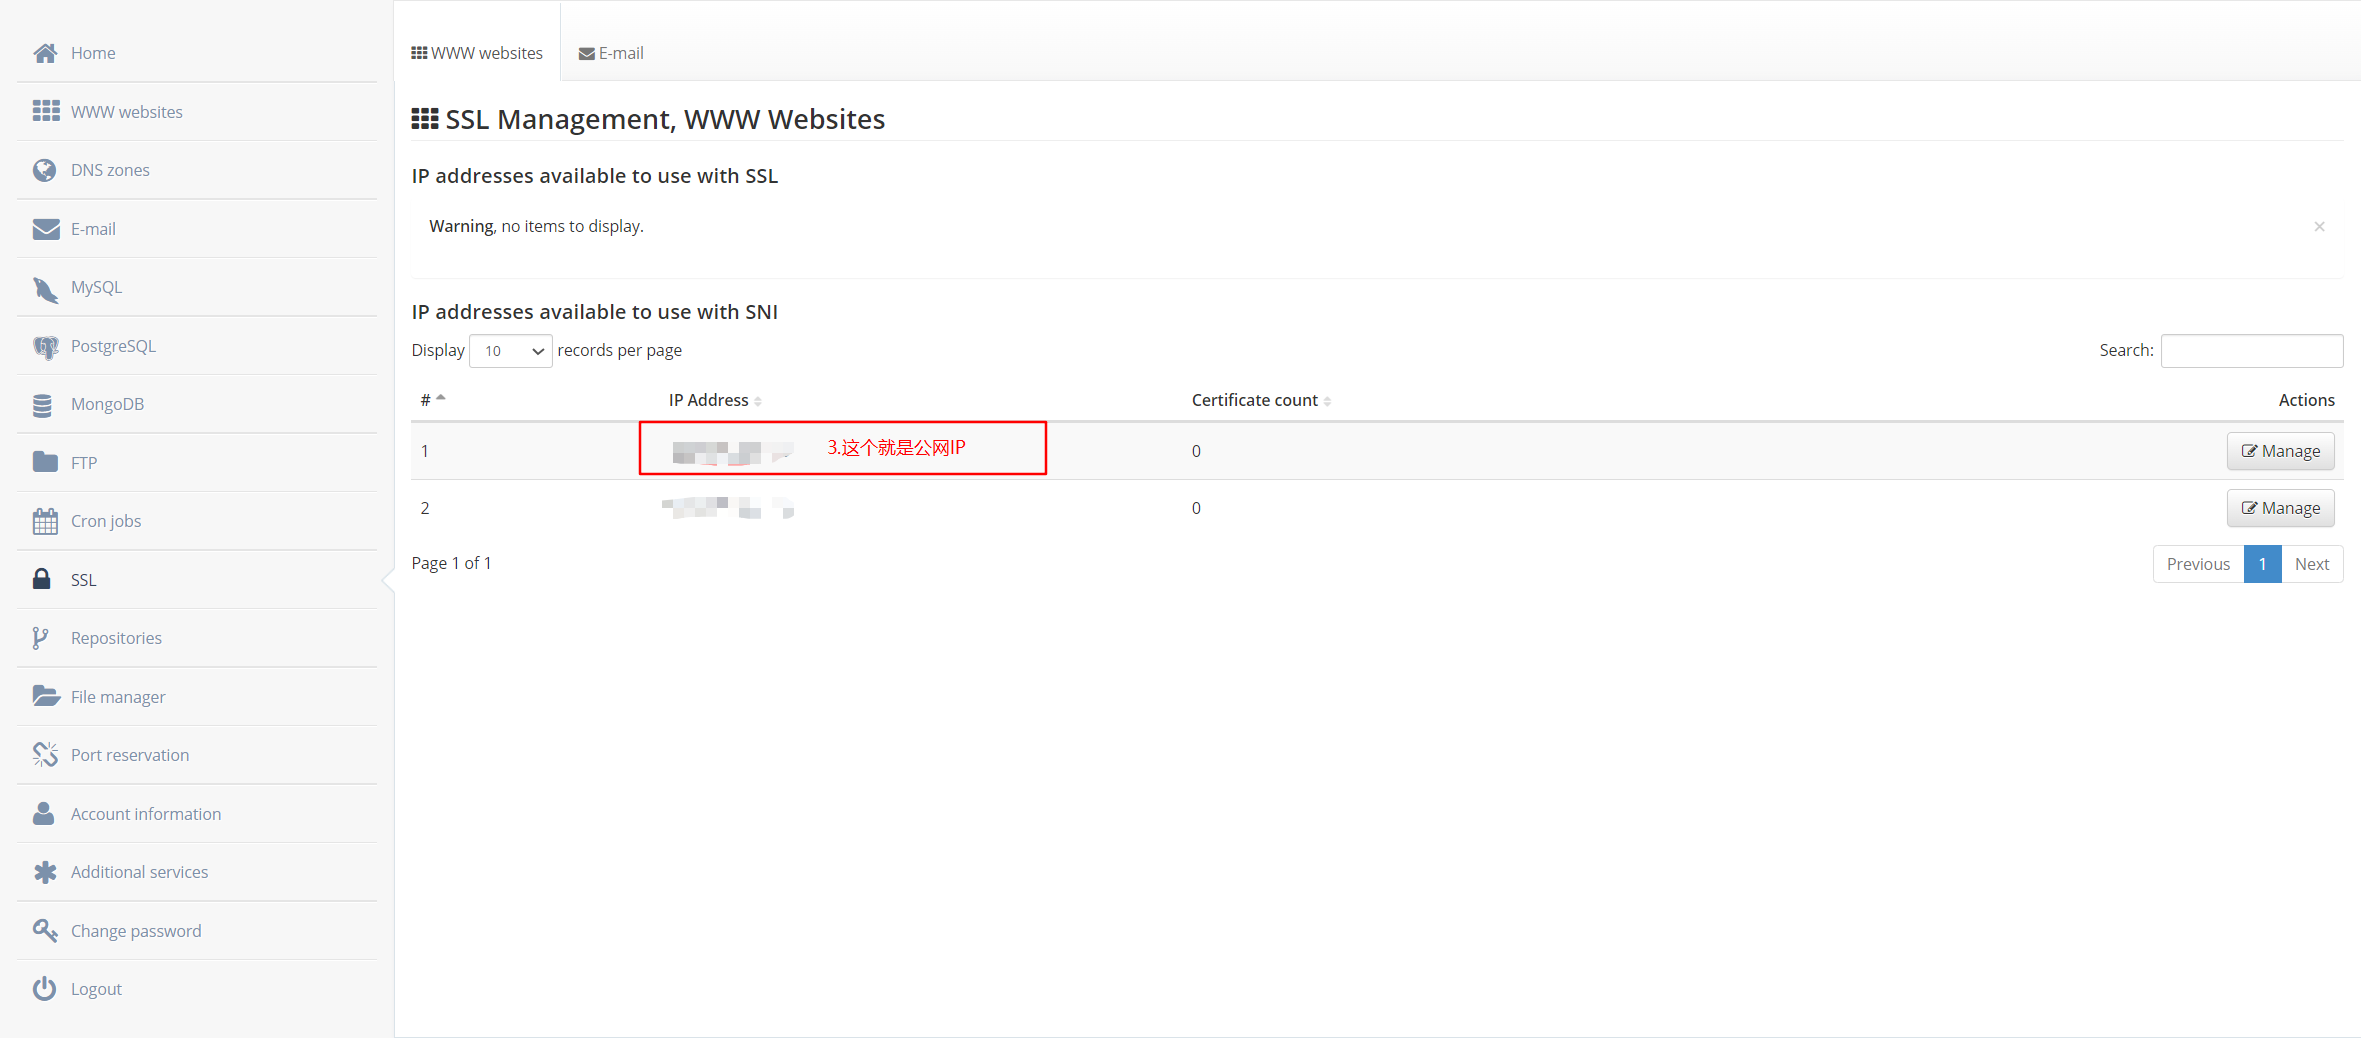
Add an A record in your domain’s DNS settings (e.g., x.xx.com) pointing to this IP for easier access in daily use.
2. Configure the Server & Install frp
Log in via SSH using the credentials from Serv00’s email.
1. Install frp
Download frp from the official GitHub releases page:
wget https://github.com/fatedier/frp/releases/download/v0.35.0/frp_0.35.0_freebsd_amd64.tar.gz
tar -zxvf frp_0.35.0_freebsd_amd64.tar.gz && mv frp_0.35.0_freebsd_amd64 frp && chmod 777 frp
This creates a frp folder in your current directory.
2. Configure frps.ini
Enter the frp directory and create/edit frps.ini:
[common]
bind_port = A  # Replace with your configured port A
bind_addr = 0.0.0.0

# Log settings
log_file = /home/<your-username>/frp/logs/frps.log  # Update with your actual username
log_level = info
log_max_days = 7

# Privilege mode
privilege_mode = true
privilege_allow_ports = B,C  # Replace with your ports B and C
token = xxxxxxxx

# Heartbeat & authentication
heartbeat_timeout = 90
authentication_timeout = 0

# Connection pool
max_pool_count = 100
3. Configure frpc.ini (on Serv00 side)
[common]
server_addr = 127.0.0.1
server_port = A # Your port A
token = xxxxxxxx
[route_webs_visitor]
type = stcp
role = visitor
server_name = route_webs
sk = 123456 # Shared secret key
bind_addr = 0.0.0.0
bind_port = B # Your port B
[route_rdp_visitor]
type = stcp
role = visitor
server_name = route_rdp
sk = 123456
bind_addr = 0.0.0.0
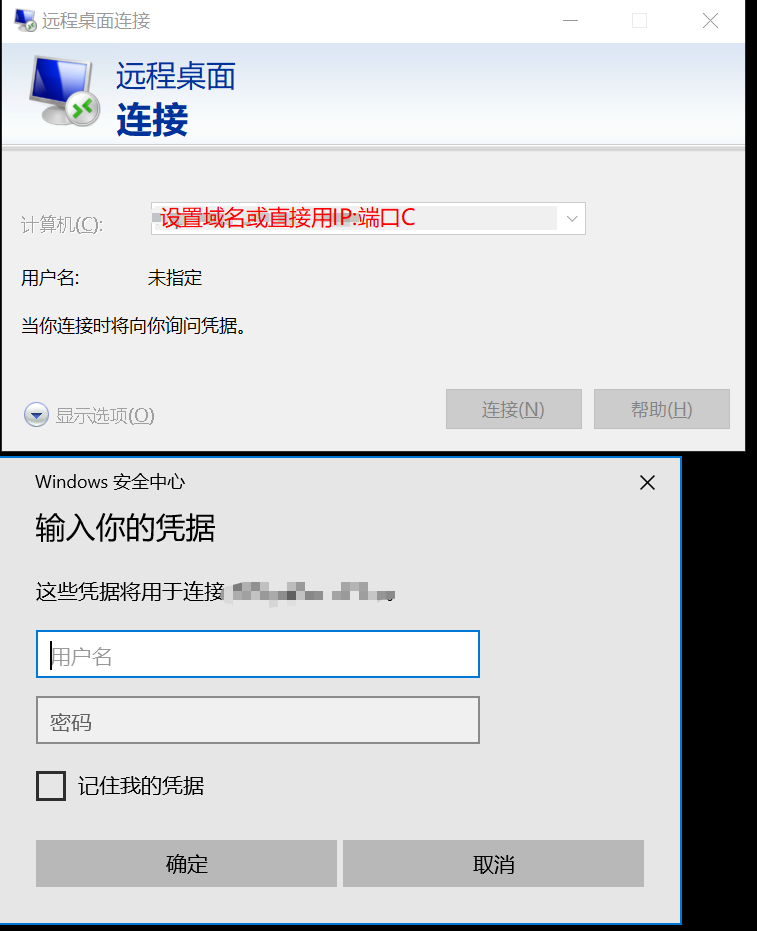
bind_port = C # Your port C3. Configure Local Client
1. Local frpc.ini (example using Docker)
vim /data/docker/frp/frpc.ini[common]
server_addr = x.xx.com # Your domain or Serv00 IP
server_port = A # Port A
token = xxxxxxxx
[route_webs]
type = stcp
sk = 123456
local_ip = 192.168.1.1 # Your local service IP
local_port = 80 # e.g., web server
[route_rdp]
type = stcp
sk = 123456
local_ip = 192.168.1.2
local_port = 3389 # Windows RDP2. Run frpc in Docker
docker run -d \
  --restart unless-stopped \
  -v /data/docker/frp/frpc.ini:/etc/frp/frpc.ini \
  -v /data/docker/frp/logs:/etc/frp/logs \
  --name frpc-01 \
  snowdreamtech/frpc:0.35.0
Check logs:
docker logs frpc-014. Set Up Process Monitoring with PM2
1. Install PM2
bash <(curl -s https://raw.githubusercontent.com/k0baya/alist_repl/main/serv00/install-pm2.sh) && source ~/.bashrc

pm2 start -x ./frp/frps -n frps -- -c ./frp/frps.ini
pm2 start -x ./frp/frpc -n frpc -- -c ./frp/frpc.ini
Check status:
pm2 lsView logs:
pm2 logs2. Add Cron Job for Auto-Restart on Reboot
In DevilWEB, go to the Cron jobs tab → Add cron job:
- Specify time:
After reboot - Form type:
Advanced - Command:
/home//.npm-global/bin/pm2 resurrect
3. Save PM2 Snapshot
pm2 save5. Test the Setup
Postscript
After running for a few days, I noticed that DevilWEB’s cron jobs get cleared automatically. To address this, I added a monitoring script using QingLong Panel (other schedulers work similarly).
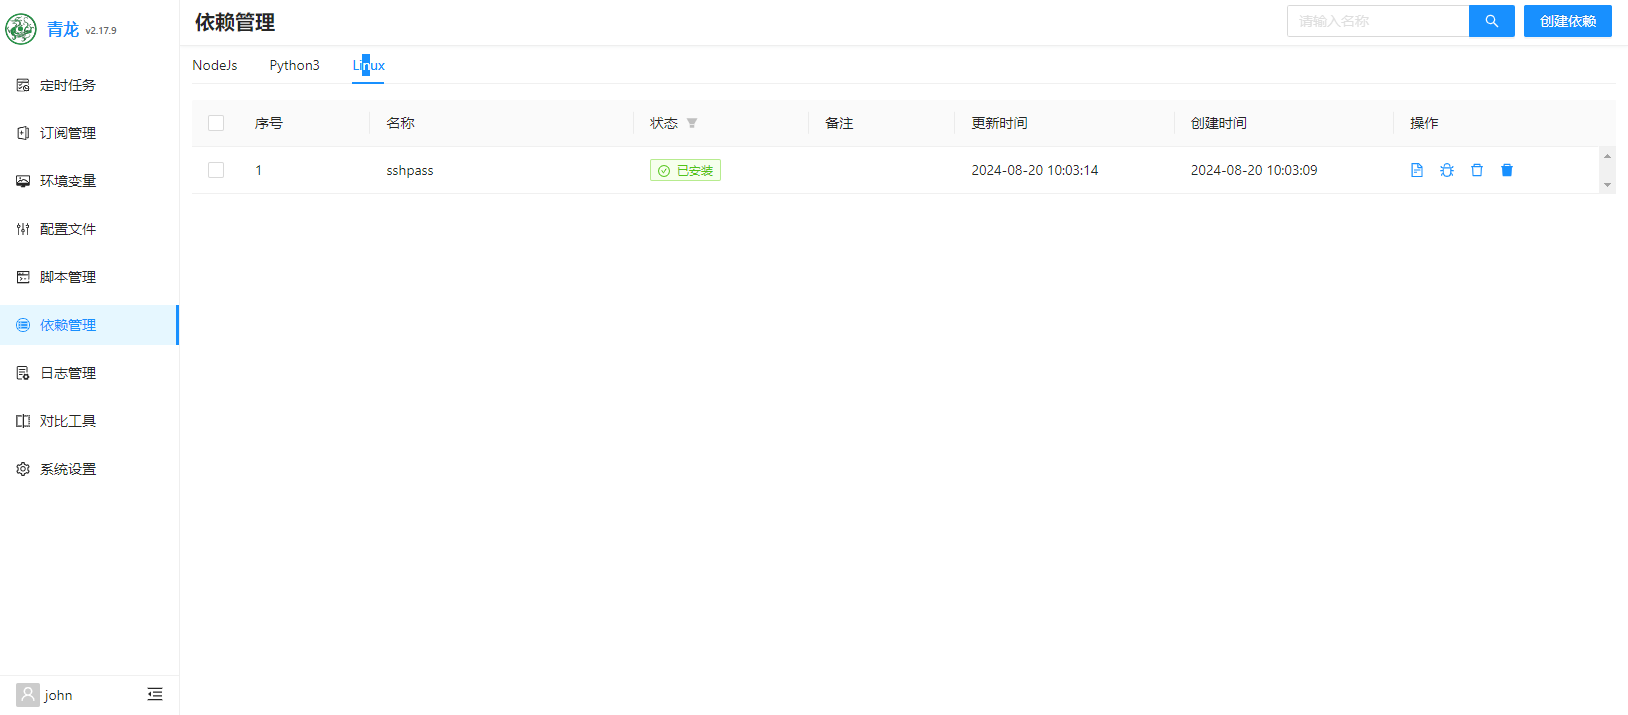
1. Install Dependency: sshpass
2. Add Monitoring Script

#!/bin/bash

URL="x.xx.com:B"  # The public URL/port you exposed (e.g., a web service for health check)

HTTP_STATUS=$(curl -o /dev/null --silent --head --write-out '%{http_code}\n' "${URL}")

echo "HTTP status code: ${HTTP_STATUS}"

if [ "$HTTP_STATUS" != "000" ]; then
    echo "Connection is healthy. Skipping recovery."
    echo "finished"
    exit 0
fi

HOST=""          # Serv00 SSH hostname
USERNAME=""      # Serv00 SSH username
PASSWORD=""      # Serv00 SSH password

sshpass -p "${PASSWORD}" ssh -o StrictHostKeyChecking=no -o UserKnownHostsFile=/dev/null -tt "${USERNAME}@${HOST}" << EOF

if ps ax | grep -v grep | grep "frps" > /dev/null; then
   echo "frps process is running. Skipping."
else
   echo "frps not found. Restoring PM2 snapshot..."
   /home/<your-username>/.npm-global/bin/pm2 resurrect
fi

exit

EOF

echo "finished"
⚠️ Replace
<your-username>with your actual Serv00 username.
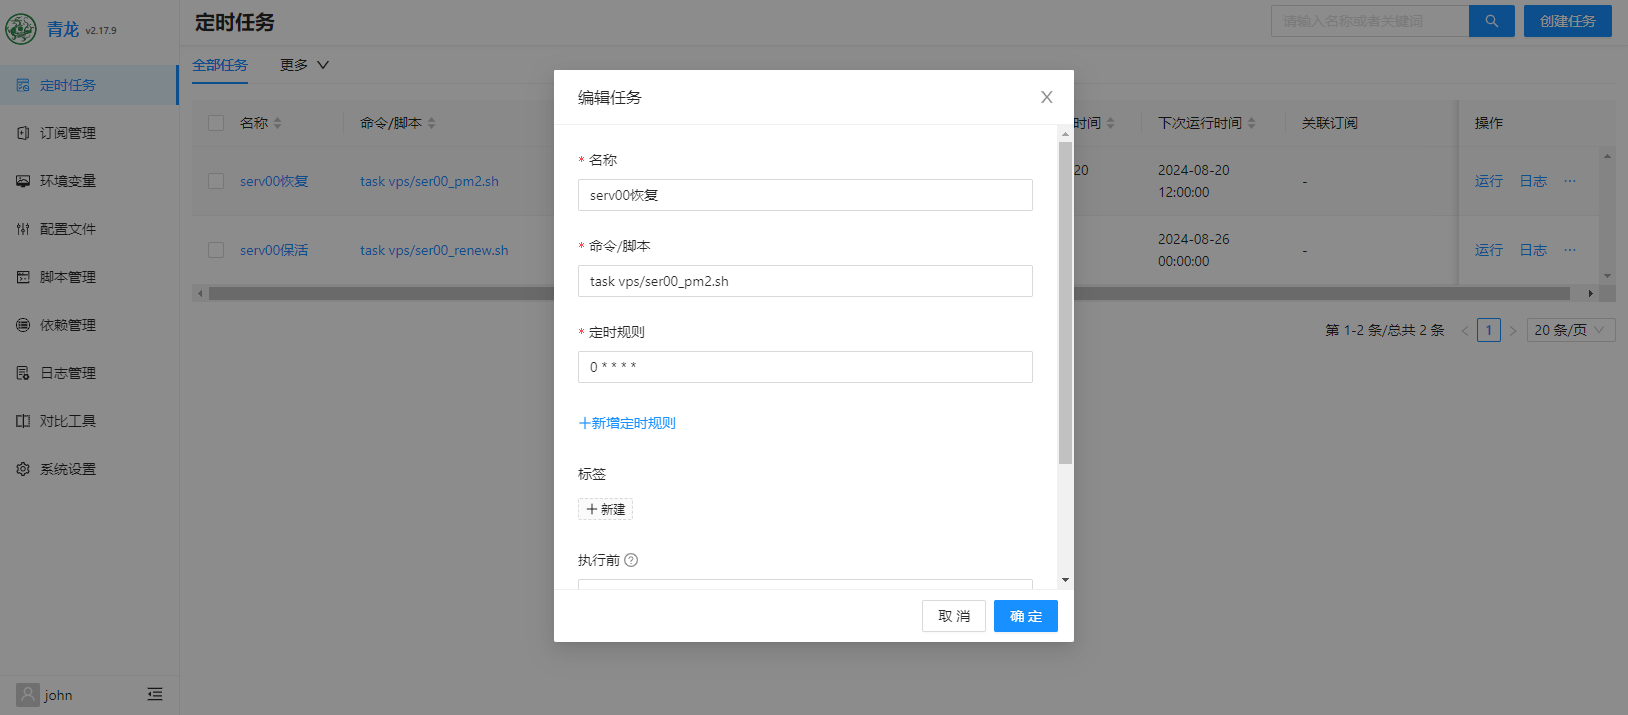
3. Schedule the Script
Set up a periodic task in QingLong (or your scheduler) to run this script every few minutes.
john
The person is so lazy that he left nothing.
Article Comments(0)